| The Complete Guide to Badge Manufacturing
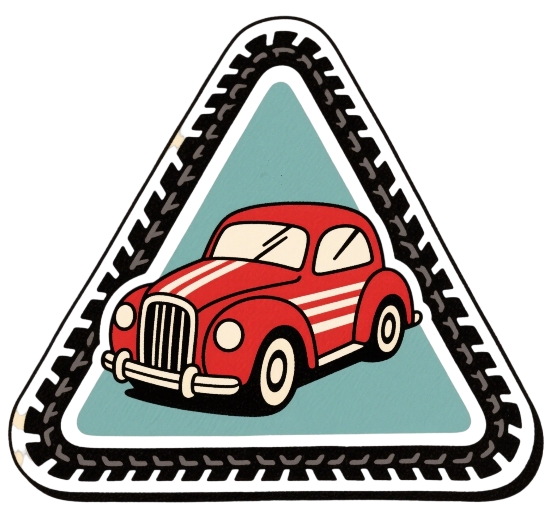
| Design Phase
The first step in badge manufacturing is design. Clients need to provide
clear artwork, logos, or text descriptions. Designers then convert these into
vector graphics (using tools like Adobe Illustrator) to ensure scalability.
The design must specify dimensions, colors (Pantone codes),
and material preferences.
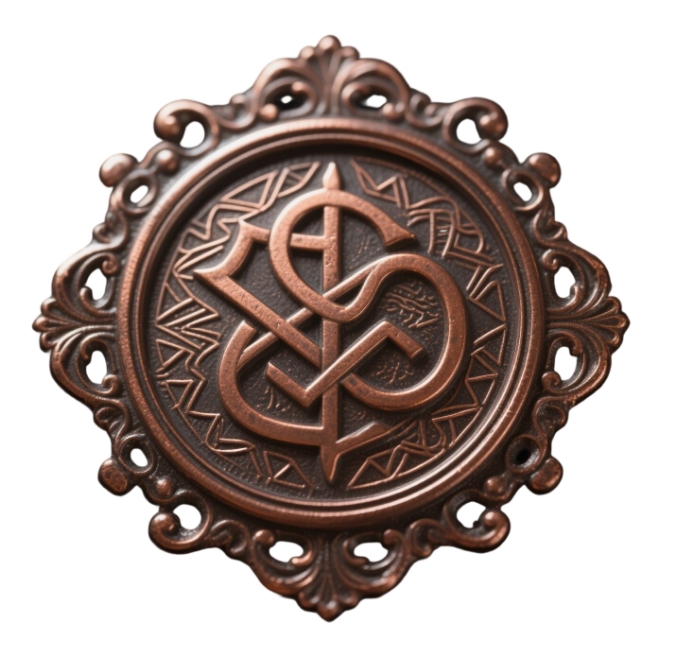
| Mold Creation
Based on the design, a metal mold is created using engraving or etching
techniques. Mold precision determines the badge’s detail and typically
takes 1-3 days. Complex designs may require multi-part molds
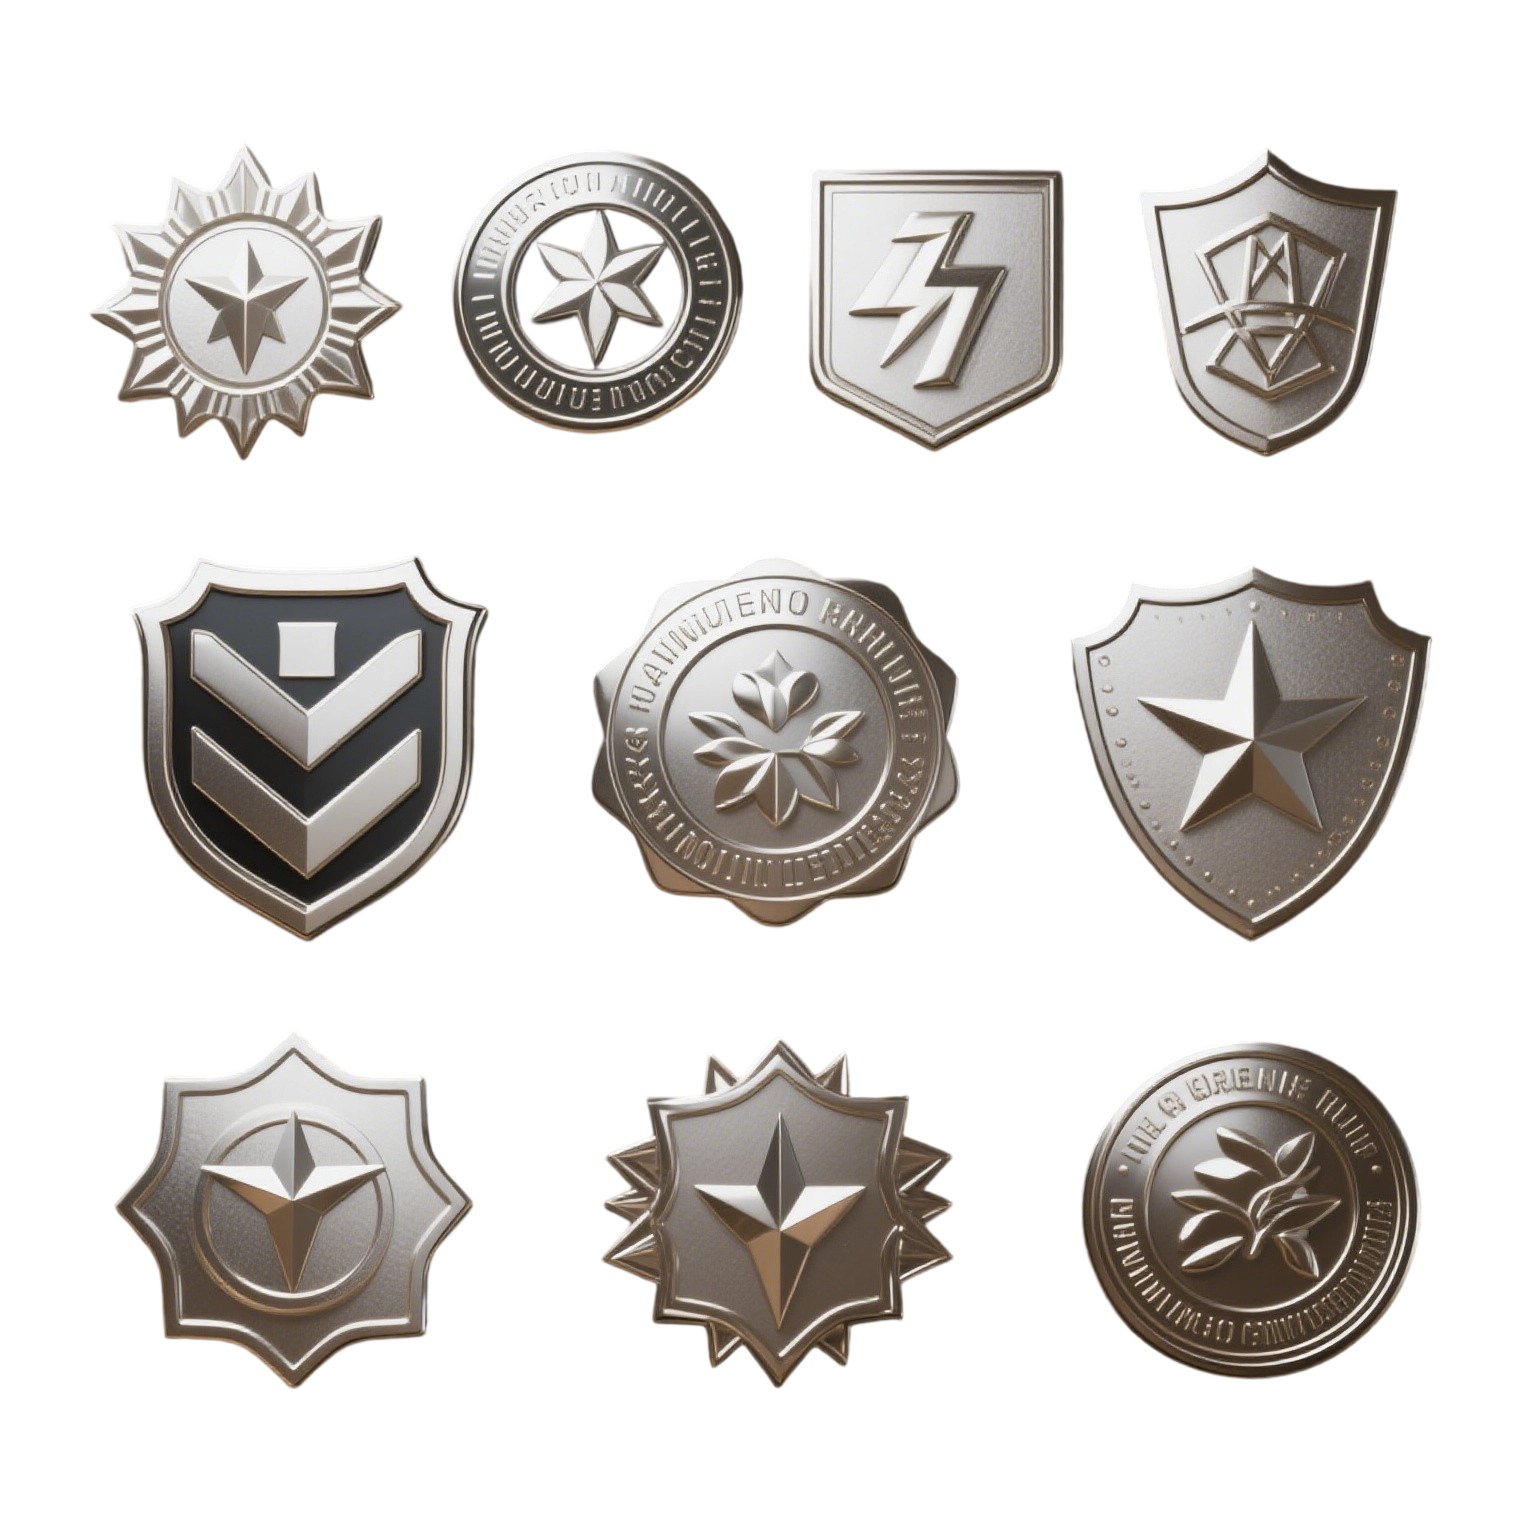
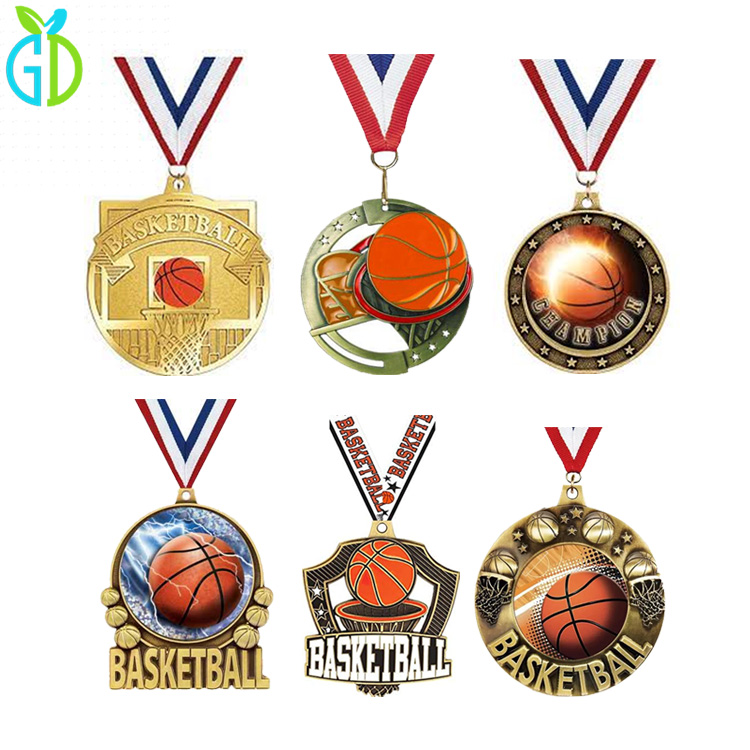
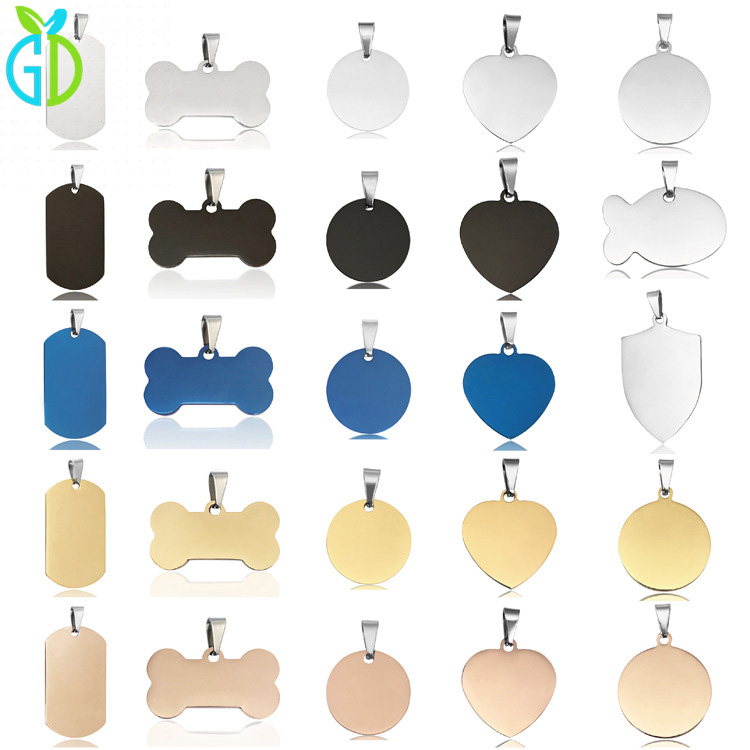
| Material Selection & Stamping
Materials: Common options include copper, iron, zinc alloy, or stainless steel,
with plating (gold, silver, nickel, etc.).
Process: Metal sheets are stamped using the mold to create 3D patterns,
followed by edge polishing.
| Attachment Installation
Attachments (pins, magnets, hooks, or clasps) are added based on usage.
Strength testing is essential.
| Quality Check & Packaging
Each badge is inspected for defects. Approved products are packed in anti-scratch
bags or gift boxes, with backing cards/manuals.
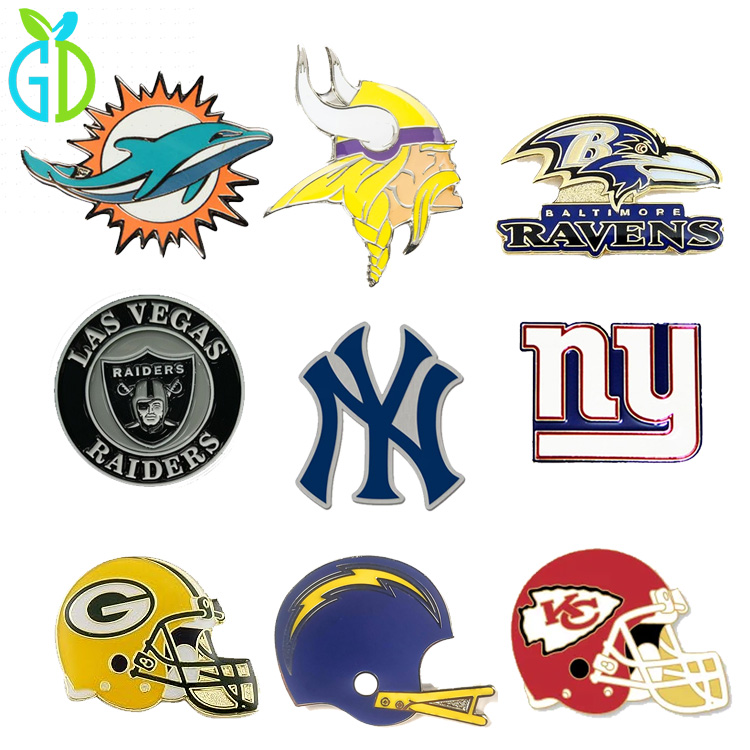
| Conclusion
Custom badges elevate branding for events, souvenirs, or promotions.
Contact us for a free design draft!

"Thanks for reading! If you enjoyed this post, leave a comment or
share it with your network."
"What’s your take on this topic? Let’s discuss in the comments!"